
My very favorite roommate from college requested that I post a cake pop recipe. Unfortunately, I’ve only made cake pops one time… and it was one time too many.
Cake Pops? More like Time Suckers.
But I do love my old roomie, so I couldn’t let her down. And considering her diet consists mainly of chocolate, cheese, peanut butter, ice cream, and an occasional hard boiled egg, I figured I’d be safe with concocting a recipe for chocolate dipped Peanut Butter Truffle Pops instead.
These are fairly simple to make, no baking involved, and definitely not as time consuming as their evil twin, the cake pop. They’re like Bizarro Cake Pops. Except they possess way better super powers than their nemesis.
Peanut Butter Truffle Pops
(makes 18 pops)
1/2 cup creamy peanut butter
1/4 cup unsalted butter (room temperature)
3 oz cream cheese (room temperature)
3/4 cup graham cracker crumbs (Kinnikinnick is a gluten free brand if you want to make these GF)
1 1/2 – 2 cups confectioners sugar
2 tsp pure vanilla extract
Coating:
1 3/4 cups semisweet or dark chocolate chocolate chips (separated into 1 1/2 cup and 1/4 cup)
2 tbsp creamy peanut butter
Special Tools:
24 cake or cookie pop sticks
Cardboard pop decorating stand (highly recommended, can be found at your local JoAnn Fabric or Michael’s for around $3)
In the bowl of a stand mixer, combine the peanut butter, butter and cream cheese and mix on medium speed until creamy and free of lumps. Reduce the speed to low, and add in the graham cracker crumbs, powdered sugar and vanilla extract. Continue mixing until you reach a ‘doughy’ consistency. I only had to use 1 1/2 cups confectioners sugar, but if your mixture doesn’t resemble dough, feel free to add a bit more until you reach the right consistency.
Line a sheet pan with parchment or wax paper and begin rolling the peanut butter mixture into bite-size balls (around 1 1/2″) and set them on the prepared pan. In a small glass bowl, heat 1/4 cup of the chocolate chips in the microwave for 15 – 30 seconds, or until melted and smooth. Dip each pop stick in the melted chocolate (around 1″ deep) and jab into the peanut butter candy balls. This step is important because while the candies are chilling the chocolate will harden and basically act as a glue that holds the stick inside the candy.
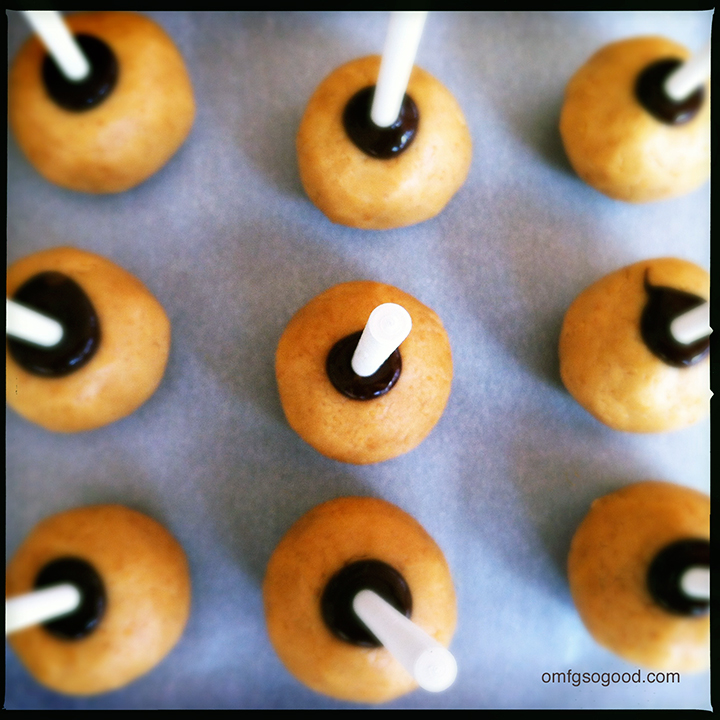
Continue until all pops have been jabbed, and transfer the sheet pan to the refrigerator to chill for at least an hour.
To make the dipping sauce, combine the remaining chocolate chips and the 2 tbsp peanut butter in a microwave safe bowl. Heat for :30 seconds, stir to combine and continue in :30 second intervals until completely melted and smooth. Allow the melted chocolate to cool a bit before beginning the dipping process.
Now, if you’ve followed my advice and gotten yourself a pop decorating stand, you’re one smart cookie, this next step will be a piece of cake. If you didn’t follow my advice, Godspeed.
Be sure to set your decorating stand on a sheet pan. Otherwise transferring it to the refrigerator will be a real bitch.
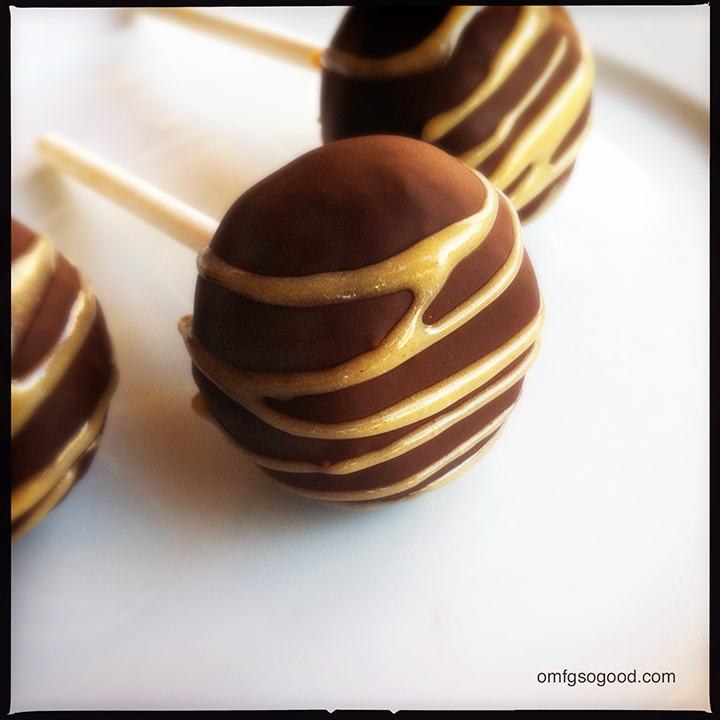
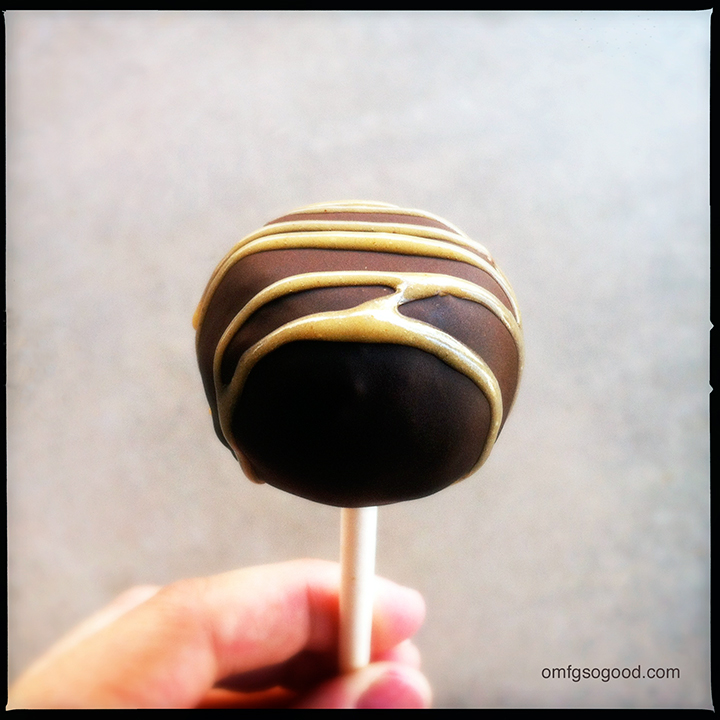
To coat, dip each pop in the melted chocolate, swirl to coat evenly and continue twirling as you raise the pop out of the chocolate. This will help the chocolate to coat evenly. Gently tap the pop on the side of the bowl while twirling the stick to get rid of any excess chocolate, then transfer to the decorating stand to set. Transfer the pops to the refrigerator to set the chocolate (chill for at least an hour).
I took it one step further and melted a few additional tbsp of peanut butter then mixed in a sprinkle of confectioners sugar and a splash of heavy cream to make a fancy drizzle.
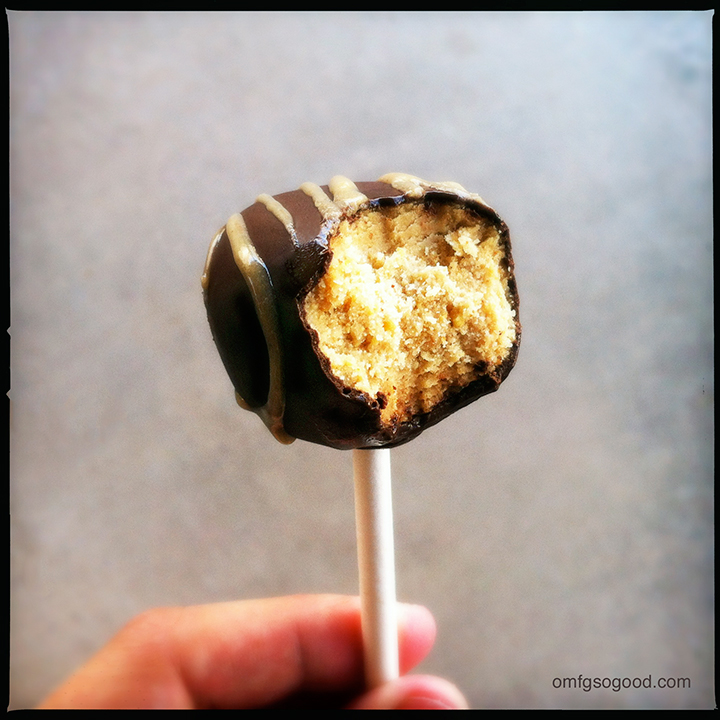
 These are seriously like eating an amazing homemade peanut butter cup, with the added benefit of not getting any chocolate on your fingers. Mmmm, hmm. Super power.
Adrienne, thanks for the challenge. I’ll definitely be making these again.
 OMFG. SO GOOD.

So… Because of the cream cheese, Im guessing these should be stored in a refrigerator? If you didn’t happen to think about that, did they hold up well over time or will they spoil? Im concerned because I want to make these to try but Im not so sure if or how they’ll need to be stored. Thanks.
They don’t need to be refrigerated, as long as room temperature is a normal, average indoor temp. They can be stored in the refrigerator if you’d prefer, they will just have a more firm texture on serving. Either way, they’re delicious. 🙂
Excellent. My daughter and I just made up the dough for these. I was worried I’d have to tell everyone to refrigerate them. We do a “friends and family” weekend bake/no-bake a-thon every year and it’s THIS weekend! Starts tomorrow. I have a recipe that I’ve perfected for Chocolate covered, toasted almond rum toffee, and I make that EVERY year, but we also do like to try at least one new recipe and this is IT, since my daughter is GAGA for Reses Peanutbutter Cups. lol… Hopefully they come out great and everyone likes them cuz well all get to go home with our own, plus some of what everyone else makes. This way, we usually end up with sometimes 20 different kinds of goodies and only actually had to make one or two! XD #EPIC!!! LOL Anyway, thanks for getting back to me! 😉
PS, we did make a double batch and are planning on making them smaller, without the pops part. So, just regular truffles.